Chimney Tuckpointing: Signs, Mortar & Repair Guide
By Chimney Insight Editorial Team
Posted on October 11, 2026
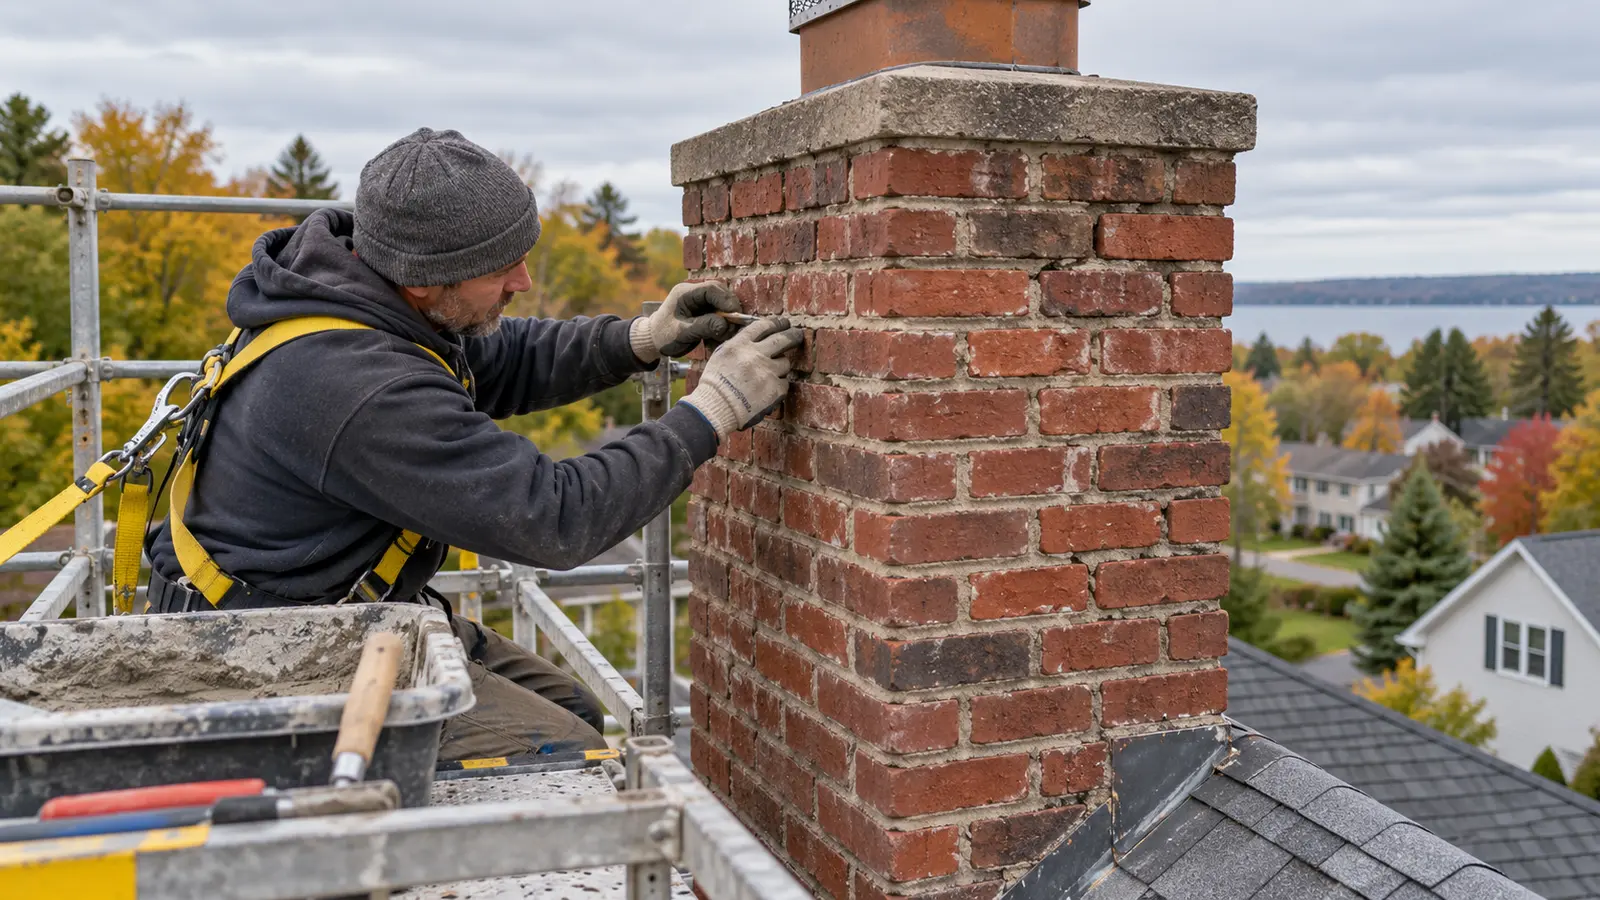
Chimney tuckpointing repairs deteriorated exterior mortar joints before water, freeze-thaw cycles, and loose masonry turn a localized problem into a larger rebuild. The work involves removing unsound mortar, selecting a compatible replacement mortar, packing the joints fully, and tooling them to shed water. It is more than a cosmetic surface smear, and the correct mortar depends on the brick, the original joint, and the chimney’s exposure.
Homeowners can inspect the chimney from the ground and document changes, but roof access, mortar removal, and repairs around a working flue are professional work in most situations. A qualified chimney professional can evaluate the venting system, while an experienced mason can assess brick and mortar compatibility.
What Is Chimney Tuckpointing?
In everyday contractor language, tuckpointing often means renewing deteriorated mortar joints. The more technically precise term for removing failed mortar and installing new mortar is repointing. Traditional tuckpointing can also refer to a decorative two-color technique that creates the appearance of very fine joints. For a typical residential repair quote, confirm exactly which process the contractor means.
The repair is limited to the joints. It does not restore a badly spalled brick, stabilize a leaning stack, seal a failed crown, repair roof flashing, or fix a cracked flue liner. Those conditions may appear alongside failed mortar and require separate work. For a broader view of exterior defects, review our masonry chimney damage and repair guide.
Signs Your Chimney Needs Tuckpointing
Mortar normally weathers faster than brick because the joints are exposed on several edges and are intended to accommodate some movement and moisture. The goal is to repair joints while the surrounding masonry is still stable.
| What you see | What it may mean | Best next step |
|---|---|---|
| Mortar recessed noticeably behind the brick faces | Weathering has reduced joint depth | Schedule a masonry assessment before deeper voids develop |
| Powdery or sandy mortar that brushes out easily | The binder has deteriorated | Have the extent and moisture source evaluated |
| Open vertical or horizontal joints | Water can enter the wall assembly | Arrange repointing and inspect nearby crown and flashing details |
| Cracks following mortar joints | Movement, shrinkage, or weathering may be involved | Determine the cause before filling the crack |
| Loose bricks, bulging, or a widening gap from the house | Possible structural movement | Keep clear and seek prompt professional evaluation |
| Flaking brick faces with failed joints | Moisture damage may affect both brick and mortar | Plan brick replacement plus compatible repointing as needed |
White deposits alone may be efflorescence rather than missing mortar, but they still suggest moisture movement. Rust stains can point to metal components, flashing, or a cap problem. Water stains indoors may originate at the crown, flashing, porous masonry, or another roof detail. Our guide to identifying chimney flashing leaks explains useful clues around the roof intersection.
Why Chimney Mortar Joints Fail
Repeated wetting and freezing
A chimney receives wind-driven rain on all exposed faces. Water can also enter through crown cracks, open joints, damaged flashing, or an inadequate cap. Where temperatures cross freezing, saturated joints experience repeated expansion and contraction. Repairing mortar without correcting the water entry point can make the new work fail early.
Mortar that is incompatible with the brick
Harder is not automatically better. Older, softer bricks often need a mortar that accommodates movement and allows the wall to dry. A dense, high-strength replacement can shift stress and moisture into the brick, contributing to cracking or face loss. The National Park Service advises matching replacement mortar to the masonry’s physical and visual properties and warns against a universal mix for every historic building. Its Preservation Brief 2 provides detailed background on compatible repointing.
Movement or a structural defect
Settlement, thermal movement, poor support, or a chimney pulling away from the house can crack joints. Repointing may close the visible gap without correcting the movement. Stair-step cracks, displaced bricks, bulging faces, or a widening separation deserve diagnosis before any cosmetic work begins.
Improper earlier repairs
Thin mortar applied over the face of an old joint has little depth to bond. Aggressive grinding can chip brick edges and enlarge the joints. Impermeable coatings may slow drying, while mismatched mortar can weather differently from the original. A sound repair removes only the deteriorated material and preserves stable masonry.
Chimney Tuckpointing vs Other Repairs
Different chimney components manage different risks. A quote should separate them so you know what is—and is not—being repaired.
| Repair | What it addresses | What it does not fix |
|---|---|---|
| Tuckpointing or repointing | Deteriorated exterior mortar joints | Spalled bricks, structural movement, crown or liner failure |
| Brick replacement | Units with deep face loss, cracks, or severe decay | Open joints elsewhere or the source of water entry |
| Crown repair or rebuild | Cracks and poor water shedding at the chimney top | Roof flashing defects or deteriorated wall joints |
| Flashing repair | Leaks where the chimney meets the roof | Porous or damaged masonry above the roofline |
| Flue repair or relining | Defects in the combustion-gas passage | Exterior mortar deterioration by itself |
If brick faces are flaking or breaking away, see our guide to chimney brick spalling. Repointing the joints may be part of the scope, but bricks that have lost substantial material usually require individual replacement.
How Professional Chimney Tuckpointing Is Done
The exact method depends on the chimney and local conditions, but a durable project usually follows this sequence.
1. Inspect the whole chimney system
The contractor maps failed joints and checks adjacent bricks, the crown, cap, flashing, roof intersection, and visible movement. A chimney professional may also recommend a suitable inspection of the flue before continued use, especially when exterior cracks are extensive or a chimney fire may have occurred. Our chimney inspection levels guide explains how inspection scopes differ.
2. Identify a compatible mortar
The mason considers the age and condition of the brick, the existing mortar, exposure, joint profile, color, texture, and local climate. Historic or unusually soft masonry may require testing or a preservation-minded approach. The goal is not to duplicate color alone; strength, permeability, and movement also matter.
3. Remove unsound mortar without damaging bricks
Deteriorated material is removed to sound mortar with controlled tools. Brick edges should remain intact, and the joint should have sufficient depth and a clean surface for the new mortar to bond. The General Services Administration’s preservation guidance emphasizes careful, damage-free removal and clean joint geometry on historic work. Power tools, when appropriate at all, require experienced control and a tested method.
4. Clean and dampen the joints as required
Dust and loose debris interfere with bonding. Depending on the mortar and conditions, the joints are cleaned and pre-dampened so dry masonry does not draw water from fresh mortar too quickly. The face should not be saturated or left with standing water.
5. Pack, tool, and cure the replacement mortar
New mortar is compacted into the prepared joint rather than spread as a thin veneer. The mason tools the surface to the specified profile and protects it while it cures. Direct sun, wind, freezing temperatures, and heavy rain can all affect curing, so weather and protection are part of the schedule.
6. Correct related water-entry defects
Open joints may not be the only path. Crown, cap, and flashing work should be coordinated rather than postponed. After sound repairs have cured, a professional may recommend a vapor-permeable water repellent suited to the masonry. See our chimney waterproofing guide for the difference between a breathable treatment and a film-forming coating.
What Determines Chimney Tuckpointing Cost?
There is no reliable one-price estimate without seeing the chimney. Access, repair depth, mortar matching, and related defects can change the scope substantially. Instead of comparing totals alone, compare what each proposal includes.
- Height and roof access: Scaffolding, lifts, fall protection, and roof protection add labor and setup.
- Area and depth of failed joints: Localized joints differ from work on all four faces or the full stack.
- Brick condition: Spalled or cracked units may need replacement before joints are finished.
- Mortar analysis and matching: Older masonry may require testing, custom color, texture matching, or trial panels.
- Removal method: Narrow joints, hard previous repairs, and delicate brick can require slower hand work.
- Crown, flashing, or cap repairs: These should appear as separate line items if they are part of the moisture solution.
- Weather protection and curing: Enclosures or additional visits may be needed in marginal conditions.
A useful quote states the joint areas, removal depth or method, proposed mortar approach, joint profile, brick replacements, access equipment, protection, cleanup, curing plan, related water repairs, and warranty terms. Our guide to choosing chimney repair services offers a practical way to compare scope and red flags.
DIY Limits and Common Tuckpointing Mistakes
Ground-level masonry patching and chimney work are not equivalent. Chimneys combine fall exposure, falling debris, weather, combustion venting, and materials that may be difficult to match. Even a neat-looking surface can hide shallow joints or trapped deterioration.
- Do not grind joints aggressively or cut into brick edges.
- Do not assume bagged “high strength” mortar is compatible with older brick.
- Do not fill movement cracks before identifying why they formed.
- Do not smear a thin layer over loose mortar; it lacks the depth of true repointing.
- Do not coat damp masonry or use an impermeable paint to hide failed joints.
- Do not treat exterior mortar repair as proof that the flue is safe to use.
- Do not work from an unsecured ladder, roof edge, or makeshift platform.
How to Check the Repair Before Final Payment
Review the completed work from a safe location and compare it with the written scope. Joints should look full and consistent rather than smeared across brick faces. The brick edges should not show fresh grinder damage. Replacement bricks and mortar should be compatible, although new mortar may change appearance as it cures.
Confirm that debris was removed, roofing and gutters were protected, specified crown or flashing work was completed, and curing instructions were followed. Ask for product and mortar information, photos of inaccessible faces, and written warranty terms. If the scope included a chimney inspection, keep that report with the repair documents.
Conclusion
Chimney tuckpointing is the right repair when mortar joints have weathered but the masonry remains stable enough to preserve. Its success depends on more than appearance: the old mortar must be removed carefully, the replacement must suit the brick, the joints must be packed and cured correctly, and the source of moisture must be addressed.
Arrange prompt professional evaluation when mortar is falling, joints are deeply open, bricks are loose, or the chimney shows leaning, bulging, or wide cracks. Early, compatible chimney mortar repair can preserve sound brick and avoid a much larger rebuild.
Frequently Asked Questions
What is the difference between tuckpointing and repointing a chimney?
Repointing is the removal of deteriorated mortar and installation of compatible new mortar. Traditional tuckpointing is a decorative technique using contrasting mortar lines, although many contractors use “tuckpointing” as the everyday term for repointing. Ask the contractor to describe the actual scope.
How do I know if mortar is too deteriorated to repoint?
Deeply recessed, powdery, missing, or easily dislodged mortar usually warrants assessment. If bricks are loose, bulging, badly spalled, or the chimney is moving, repointing alone may be insufficient and partial rebuilding may be needed.
Can new mortar damage old chimney bricks?
Yes. Mortar that is too hard or too impermeable for older, softer brick can concentrate stress and moisture in the brick. A qualified mason should select mortar for the existing masonry, exposure, and condition rather than using maximum strength as the only criterion.
Will tuckpointing stop a chimney leak?
It can stop water entering through failed exterior joints, but it will not fix a cracked crown, damaged cap, failed flashing, roof defect, or condensation problem. A durable leak repair identifies every relevant entry point.
Can I use the fireplace immediately after tuckpointing?
Exterior curing time and fireplace safety are separate questions. Follow the contractor’s curing instructions, and do not assume new exterior mortar proves that the flue or liner is safe. Use the appliance only after any recommended chimney inspection and repairs are complete.