Annual Chimney Maintenance Checklist: 12 Essential Checks
By Youssef
Posted on September 23, 2026
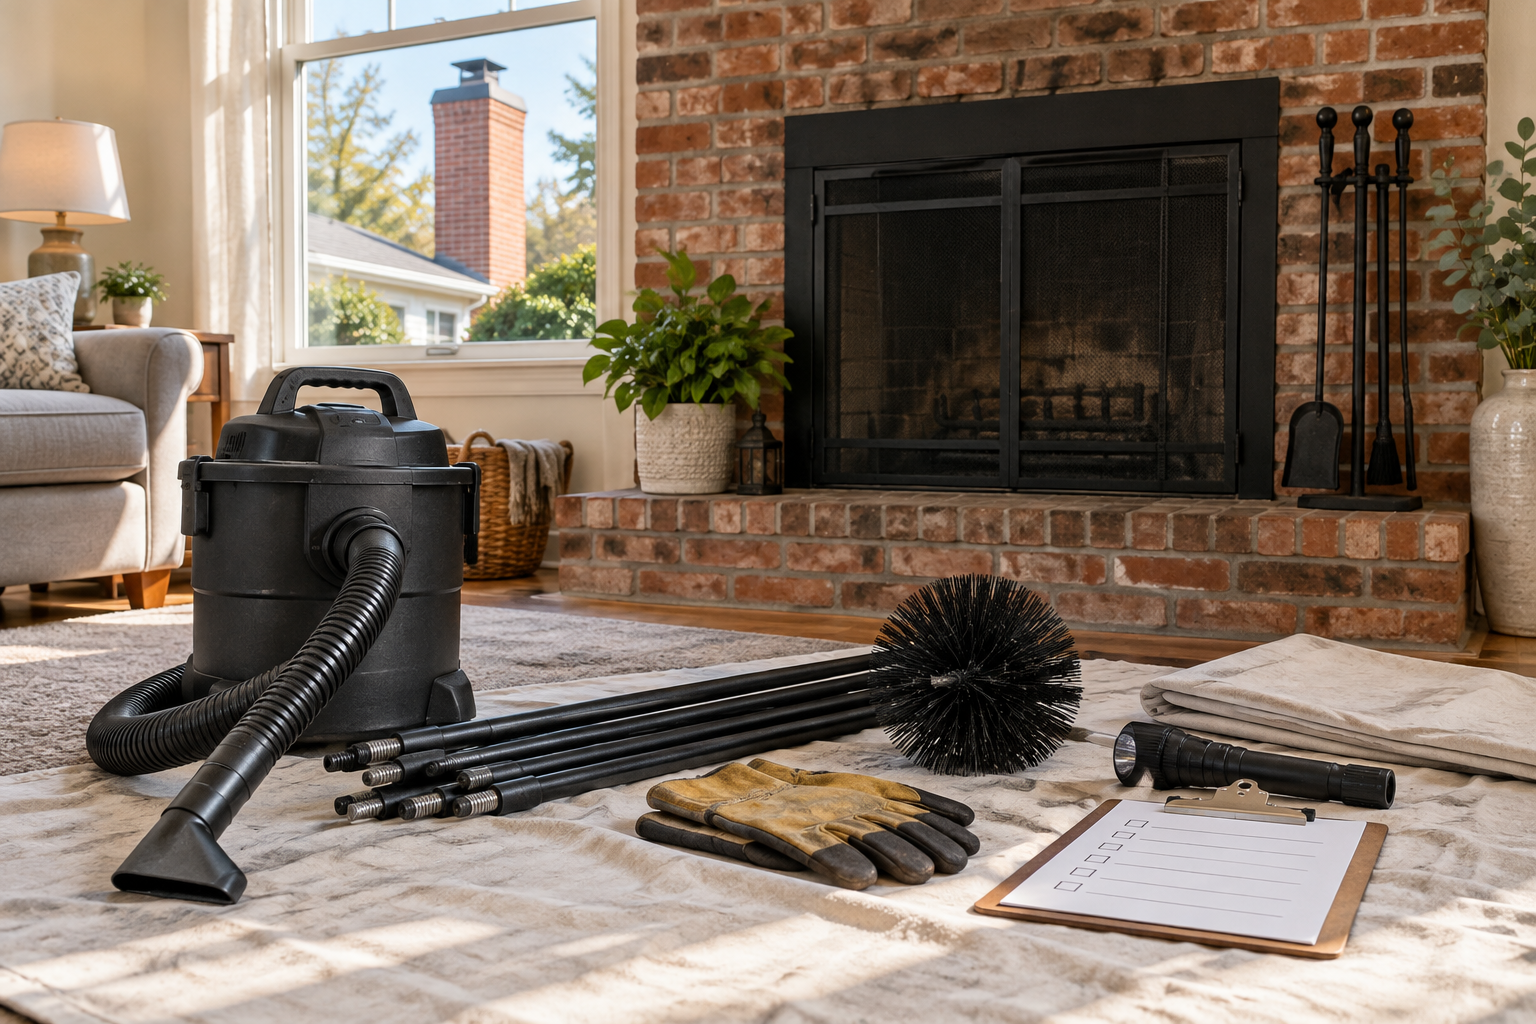
Chimney maintenance should combine a yearly professional inspection with simple homeowner checks throughout the heating season. Before the first fire, confirm the chimney is clear, the fireplace or stove is sound, alarms work, fuel is dry, and visible masonry has no new damage. Stop using the system if you find smoke indoors, loose masonry, liner fragments, a carbon monoxide alarm, or signs of a chimney fire.
This annual chimney maintenance checklist gives US homeowners a practical order of work. It separates safe observations from jobs that require a qualified chimney professional, because brushing a flue is not the same as inspecting its liner, clearances, structure, or venting performance.
What Annual Chimney Maintenance Includes
A dependable plan has three parts: professional inspection, cleaning when deposits or the appliance schedule require it, and routine homeowner observation. The U.S. Fire Administration recommends having heating equipment and chimneys cleaned and inspected each year by a professional. The CDC also advises having a chimney checked or cleaned every year because debris can block it and allow carbon monoxide to build up.
Annual service does not mean every chimney needs the same repair or an identical cleaning schedule. Fuel, appliance type, frequency of use, flue condition, deposits, weather exposure, and manufacturer instructions all matter. Our guide to how often a chimney should be cleaned explains why the inspection findings should drive the decision.
| Homeowner can check | Professional should evaluate |
|---|---|
| Alarm status, hearth clearance, ash level, visible stains, odors, and ground-level exterior changes | Flue liner, concealed clearances, structural movement, draft testing, internal deposits, and appliance-to-vent compatibility |
| Dry fuel, door glass, accessible gaskets, obvious cap damage seen from the ground | Roof access, cap removal, sweeping method, masonry repair, flashing repair, and suspected chimney-fire damage |
| Dates, photos, service records, and symptom notes | Diagnosis, code compliance, repair scope, and written clearance for use |
12-Point Chimney Maintenance Checklist
1. Schedule the annual professional inspection
Book the visit before peak heating season, especially if you burn wood regularly. Tell the company what appliance and fuel you use, whether the system has been changed, and whether you have noticed odors, stains, smoke, falling debris, or poor draft. Ask what inspection level is appropriate; our explanation of chimney inspection Levels 1–3 can help you prepare useful questions.
2. Review service records and appliance instructions
Keep the last inspection report, repair invoices, permits, appliance manual, and chimney maintenance notes together. Record the fuel used and approximate burn frequency. If the home or appliance is new to you, do not assume a clean-looking firebox means the flue is ready. Missing history is a reason for a professional evaluation, not a reason to guess.
3. Let the system become completely cold
Follow the appliance manual and service company instructions for how long the system must remain unused before inspection or ash removal. Treat all ash as potentially hot. Never vacuum embers, warm ash, or unknown material. A cold system also makes it easier to notice odors, moisture, loose parts, and deposits without exposure to heat or smoke.
4. Test smoke and carbon monoxide alarms
Use each alarm’s test button and follow its manufacturer instructions for placement, batteries, cleaning, and replacement. The CDC advises installing battery-operated or battery-backup carbon monoxide detectors near sleeping areas. An alarm is a warning device, not proof that the chimney is working properly. If a carbon monoxide alarm sounds, leave the building and follow emergency guidance; do not relight the fireplace to “test” it.
5. Clear the hearth and surrounding area
Remove newspapers, firewood, decorations, rugs, furniture, and other combustibles from the fireplace area. USFA advises keeping anything that can burn at least 3 feet from fireplaces, wood stoves, and other heat sources. Check that screens, doors, tools, and guards are stable and that children and pets cannot reach hot surfaces.
6. Examine the firebox, damper, doors, and gaskets
With a flashlight, look for missing mortar, open cracks, loose firebrick, warped parts, damaged glass, rust, and displaced panels. Operate only accessible moving parts as the manual permits. Door gaskets should be intact and seated; a crushed or detached gasket can affect appliance control. Photograph changes and stop if a component is loose or damaged.
7. Check visible masonry and moisture clues
From the ground and indoors, look for new cracks, spalling brick, white deposits, dark stains, damp odors, peeling finishes, ceiling marks, or rusted metal. Moisture can enter through a cap, crown, flashing, mortar joints, or condensation, so the stain alone does not identify the source. Our guide to chimney waterproofing and masonry protection explains why repairs should address defects before a coating is considered.
8. Observe the cap and exterior from the ground
Use binoculars or a zoomed photo from a safe location. Check for an obviously tilted or missing cap, damaged screen, leaning masonry, loose pieces, staining, or vegetation touching the chimney. Do not climb onto a roof for routine chimney maintenance. Roof pitch, fragile surfaces, weather, power lines, and concealed damage make this professional work.
9. Look for blockage or animal evidence
Listen and look for nesting sounds, feathers, droppings, twigs, leaves, or debris in accessible areas. Do not light a fire to force an animal out, reach into an occupied flue, or remove a nest without identifying the species and applicable wildlife rules. A professional can determine whether the vent is blocked and whether the cap or screen needs repair.
10. Assess soot and creosote without scraping blindly
Loose soot, flaky deposits, shiny tar-like glaze, and falling fragments deserve attention. Color and texture alone cannot tell you whether every flue surface is clean or sound. Glazed deposits can be difficult and hazardous to remove; see our guide to recognizing glazed creosote. Do not improvise with chemicals, chains, fire, or an incompatible brush.
11. Remove cold ash and manage tools safely
Use a metal shovel and covered metal container for ash, then store the container outdoors on a noncombustible surface according to local guidance. If the appliance instructions permit an ash vacuum, use one designed for cold ash and maintain its filter. A household vacuum can spread fine particles or be damaged. For equipment considerations, compare the filtration and capacity points in our chimney sweep vacuum guide.
12. Check fuel, draft symptoms, and the first fire
Burn only fuel approved for the appliance. The EPA’s archived Burn Wise guidance says wood burns best below 20% moisture and recommends testing a freshly split face with a wood moisture meter. After the system has been professionally cleared when needed, start with a small fire and monitor it. Stop for smoke entering the room, unusual odors, a roaring flue, sparks or flames from the top, rapid heat, or an alarm.
A Simple Seasonal Chimney Maintenance Schedule
| When | Useful actions |
|---|---|
| Before heating season | Schedule inspection, review records, check alarms, examine visible masonry and appliance parts, confirm dry fuel, and correct access or clearance issues. |
| During regular use | Watch smoke behavior, burn approved dry fuel, manage cold ash, keep the hearth clear, and record new odors, stains, sounds, or debris. |
| After severe weather | From the ground, look for a shifted cap, loose masonry, water entry, storm debris, or impact damage. Arrange professional evaluation when anything changed. |
| After a suspected chimney fire | Stop use, call emergency services when appropriate, and obtain a professional inspection before any further fire. |
| End of season | Remove cold ash, note service needs, keep the damper or appliance configured according to its manual, and address moisture before damage spreads. |
Useful Chimney Maintenance Tools
As an Amazon Associate, ChimneyInsight may earn from qualifying purchases. The products below are optional aids, not substitutes for professional inspection, cleaning, repair, or emergency response.
Gardus SootEater RCH205-B Chimney Cleaning System
Best suited to: experienced homeowners whose appliance and flue manufacturer allow this type of rotary system. Practical advantage: the stored listing describes a flexible-rod chimney cleaning kit that can provide reach without improvising separate parts. Honest limitation: size, liner material, access, deposits, and technique must all be compatible; it is not a way to diagnose defects or safely remove every glazed deposit.
PowerSmith PAVC101 Ash Vacuum
Best suited to: homeowners cleaning completely cold ash where the appliance instructions permit vacuum use. Practical advantage: it is a purpose-labeled ash vacuum rather than an ordinary household vacuum. Honest limitation: it still requires filter care and safe ash handling, and it is not professional soot-control equipment. Never use it for hot, warm, or uncertain ash.
Pine Mountain Creosote Buster Chimney Cleaning Log
Best suited to: homeowners whose fireplace or appliance instructions permit a creosote-conditioning log as a supplemental measure. Practical advantage: it offers a simple, prepackaged option for the use described in the listing. Honest limitation: it does not inspect the flue, certify safe operation, replace mechanical cleaning, or make glazed creosote a DIY job. Confirm compatibility before use.
When Chimney Maintenance Must Stop
Stop using the appliance and get qualified help when you find a carbon monoxide alarm, smoke entering the home, liner fragments, a blocked flue, loose or leaning masonry, an open crack, burned or melted components, persistent water entry, animal occupancy, strong unexplained odors, or evidence of a chimney fire. A loud roaring sound, intense heat, dense smoke, or flames and sparks from the chimney top can indicate an active emergency. Get everyone out, call 911, and do not attempt roof access or throw water into the flue.
Do not resume use merely because the fire is out or the visible area looks normal. Heat can damage liners, masonry, connectors, and nearby combustible materials in places a homeowner cannot see. The safe next step is professional inspection and a written repair or use recommendation.
Conclusion
Good chimney maintenance is consistent and evidence-based: schedule the yearly inspection, keep service records, watch for moisture and deposit changes, maintain alarms, burn approved dry fuel, and stop at warning signs. Use homeowner tools only within their instructions and your safe access. When the condition of the flue, masonry, venting, or appliance is uncertain, a qualified professional should make the diagnosis.
Frequently Asked Questions
How often should chimney maintenance be done?
Have the chimney cleaned and inspected each year by a professional, following USFA guidance, and perform simple visual checks during the heating season. Cleaning frequency can vary with fuel, use, appliance instructions, and actual deposit levels.
Is a chimney inspection the same as chimney cleaning?
No. Cleaning removes deposits using an appropriate method. Inspection evaluates accessible components and conditions at the required level. A brushed flue can still have liner damage, clearance problems, moisture entry, or other defects.
Can I do chimney maintenance myself?
You can test alarms, manage completely cold ash, keep the hearth clear, document symptoms, check fuel moisture, and observe accessible areas from the ground. Roof work, internal flue evaluation, structural diagnosis, sweeping, and repairs require the right training, equipment, and system knowledge.
Do creosote cleaning logs replace sweeping?
No. A compatible conditioning product may supplement a maintenance plan, but it does not inspect the chimney, verify deposit removal, repair damage, or replace professional cleaning when cleaning is needed.
What are urgent chimney warning signs?
Urgent signs include a carbon monoxide alarm, smoke indoors, a roaring flue, unusual heat, flames or sparks from the chimney top, falling liner pieces, loose masonry, or a suspected blockage. Leave during an active emergency, call 911, and keep the system off until professionally evaluated.