Fireplace Inspection Checklist: What to Check Before Calling a Pro
By Youssef
Posted on September 21, 2026
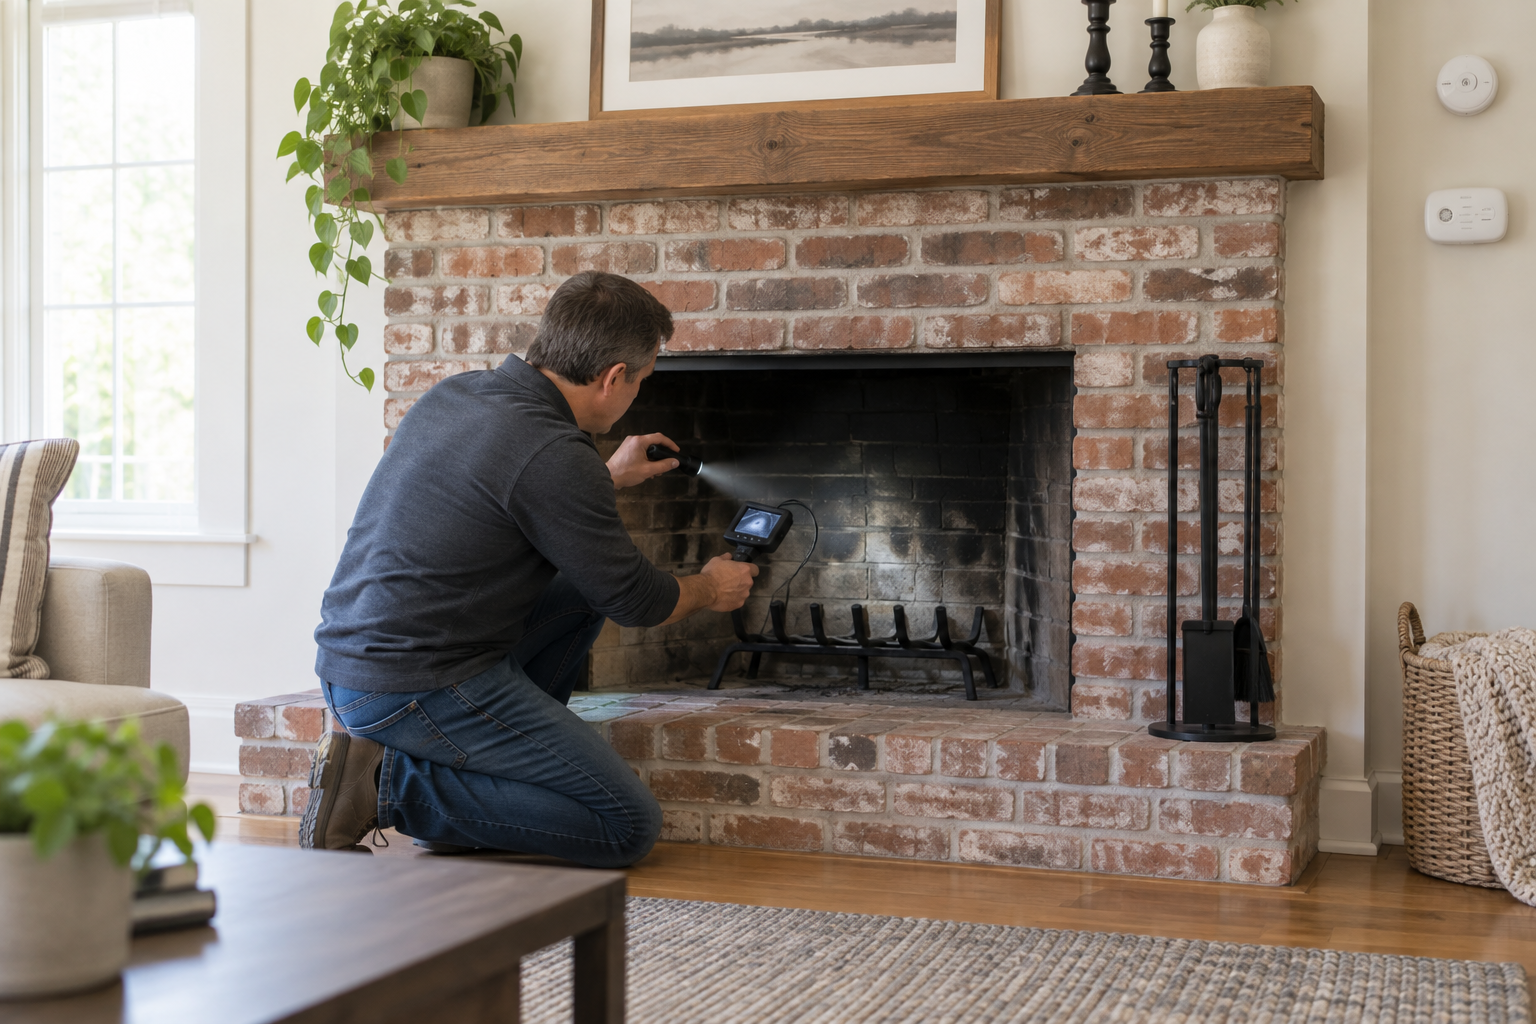
A homeowner fireplace inspection is a careful, ground-level visual check—not a declaration that the fireplace and chimney are safe to use. With the system completely cold, you can look for damaged masonry, loose components, moisture, heavy deposits, missing clearances, and alarm problems. Stop and call a qualified chimney professional if you find flue damage, fallen debris, signs of a chimney fire, smoke entering the room, structural movement, or an active carbon monoxide alarm.
This fireplace inspection checklist helps US homeowners prepare for seasonal use or a service appointment. It does not replace the inspection level appropriate to your system, and it does not authorize roof access, chimney entry, gas-component disassembly, or a test fire in a system that may be unsafe.
Immediate safety rule: If a smoke or carbon monoxide alarm sounds, if you see an active fire outside the firebox, or if smoke is filling the home, leave the building and call 911 from outside. Do not continue this checklist.
What a Homeowner Check Can and Cannot Do
A pre-use fireplace inspection can reveal obvious conditions and help you describe symptoms accurately. It can also identify reasons to keep the fireplace off. It cannot confirm hidden clearances, the full condition of a liner, the integrity of concealed framing, or whether a venting system is properly sized.
The U.S. Fire Administration advises homeowners to have heating equipment and chimneys cleaned and inspected each year by a professional. A homeowner fireplace inspection is useful between professional visits and before an appointment, but it should not be used to postpone that work.
| Area | Safe homeowner check | Stop-use warning |
|---|---|---|
| Room and hearth | Clearances, loose screen, cracked glass, combustible items | Heat damage, missing barrier, unstable hearth |
| Firebox and damper | Visible cracks, debris, corrosion, movement from the room | Fallen masonry or liner pieces, missing metal, major gaps |
| Lower flue view | Look upward from the firebox with a light; do not enter | Blockage, displaced liner, heavy deposits, nesting material |
| Exterior from ground | Binocular view of stack, cap, crown, and obvious lean | Loose brick, missing cap, severe cracking, visible movement |
| Alarms | Use the test control and follow manufacturer instructions | Expired, damaged, missing, or nonworking alarm |
Fireplace Inspection Checklist: 15 Essential Checks
1. Confirm the fireplace type and service history
Identify whether the unit is masonry, factory-built, wood-burning, gas, pellet, or an insert. Find the appliance label and manual when available. Note the last professional inspection, cleaning, repair, appliance change, chimney fire, or major storm. A change in appliance or fuel can affect which inspection level is appropriate; our guide to chimney inspection Levels 1, 2, and 3 explains the distinctions.
2. Clear the hearth and nearby combustibles
Move paper, baskets, decorations, curtains, furniture, and firewood away from the fireplace. USFA recommends keeping anything that can burn at least 3 feet from fireplaces and other heat sources. Check the hearth for loose sections, deep cracks, or a rug that overlaps the protected area.
3. Inspect the screen, doors, and visible trim
Look for a screen that closes the opening, glass that is cracked or loose, missing fasteners, warped frames, and damaged seals specified by the manufacturer. Do not operate glass doors in a way the manual prohibits. Factory-built fireplaces depend on listed components; improvised doors, grates, or trim can create a safety problem.
4. Examine the firebox surfaces
With the firebox completely cold and ash removed only by a safe method, inspect the back, sides, floor, and joints. Small surface lines are different from open gaps, loose refractory panels, missing mortar, bulging masonry, or pieces that have fallen out. Photograph defects with a ruler nearby for scale, but do not patch them before the system is properly evaluated.
5. Look for unusual debris
Fragments of tile, brick, mortar, metal, or nesting material can indicate damage or blockage above the firebox. Do not push debris upward or run a brush through an unknown obstruction. Liner fragments are a stop-use condition until a qualified professional determines their source.
6. Check the damper from the room
Operate a throat damper only from its normal handle while the fireplace is cold. It should move without forcing and remain in the intended position. Rust, a disconnected control, severe warping, or an opening that cannot be confirmed deserves service. Never light a fire when you are unsure the exhaust path is open.
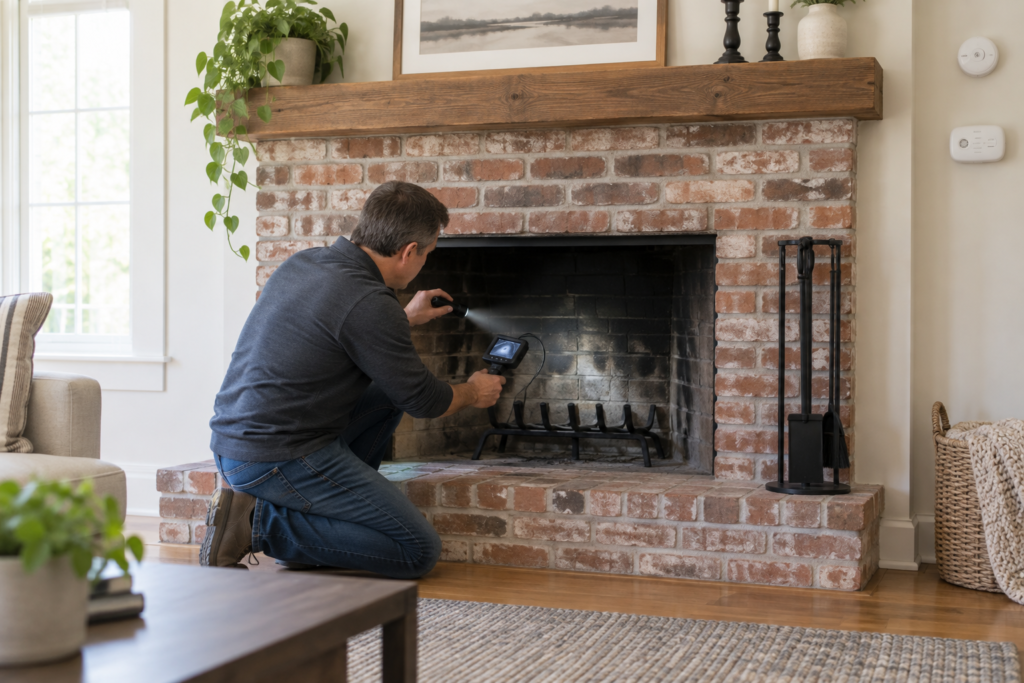
7. View the smoke chamber and lower flue safely
From outside the opening, use a flashlight or camera to view accessible areas. Do not place your head inside the firebox, climb into the chimney, or rely on a small camera to approve the system for use. A consumer camera may help document a visible condition, while a professional video scan and trained interpretation may be needed for the flue. See our inspection camera buying guide for practical limitations.
8. Note soot and creosote without guessing severity
Flaky, crusty, shiny, or tar-like deposits should be documented, not scraped as a test. Deposit appearance alone does not tell you that the entire flue is clean or safe. If you see hard, shiny material, review the warning signs in our guide to glazed creosote and arrange professional evaluation.
9. Check for moisture and corrosion
Look for damp stains, white mineral deposits, rusted dampers, peeling paint, swollen trim, or water in the firebox. Record whether the condition appears after rain or during cold weather. Water may enter through several locations, so a stain does not identify the repair by itself.
10. Treat persistent odors as evidence
A strong smoky, tar-like, damp, animal, or gas odor deserves attention. Do not cover it with fragrance or assume it is normal. If you smell gas, leave the area, avoid switches or flames, and follow your gas utility’s emergency instructions from a safe location.
11. Apply gas-fireplace limits
Do not remove sealed glass, alter logs, open a gas valve for testing, or disassemble a pilot or burner unless the manufacturer’s instructions specifically authorize the homeowner procedure. Soot, delayed ignition, damaged glass, unusual flame behavior, or repeated shutdowns require a qualified technician. Our guide on gas-fireplace venting explains why the exhaust path varies by appliance.
12. Test smoke and carbon monoxide alarms
Use each alarm’s test control and follow its manufacturer instructions for placement, cleaning, battery replacement, and end-of-life replacement. The U.S. Consumer Product Safety Commission recommends CO alarms on every level and outside sleeping areas. An alarm test checks the alarm function; it does not prove the fireplace is venting safely.
13. Observe the chimney from the ground
Use binoculars from a safe location to look for an obvious lean, missing cap, damaged chase cover, loose brick, vegetation, or a crown with major visible cracks. Do not climb onto the roof for a closer look. Ground-level photos can help the professional prepare access equipment.
14. Check accessible indoor areas around the chimney
From normal walking surfaces, look at ceilings, walls, closets, and accessible attic areas near the chimney for staining, scorching, odor, or damaged framing. Do not crawl into a confined area, disturb insulation, or open a wall. Any heat damage or charred material is a stop-use warning.
15. Record the result instead of starting a test fire
Write down what you checked, take clear photos, and list changes since the last professional visit. Keep your fireplace inspection notes with earlier reports so a technician can compare changes over time. Do not use a small fire or smoke source to test a system with an unresolved defect. If no warning signs are visible, that still does not reveal every concealed condition; follow the recommended professional service schedule.
When a Fireplace Inspection Needs a Professional
Arrange professional service before use after a chimney fire, property transfer, appliance or fuel change, major weather event, unexplained smoke problem, long period of nonuse, or any suspected damage. Also call when you cannot confirm the flue path is open or when the fireplace inspection reveals loose masonry, liner fragments, heavy deposits, water entry, corrosion, structural movement, or animal blockage.
Ask what inspection level is proposed, what areas are included, whether video scanning is appropriate, and how findings will be documented. When choosing a technician, verify the individual’s credentials; the Chimney Safety Institute of America describes its certification programs for chimney and venting professionals.
Helpful Tools for a Safer Visual Check
As an Amazon Associate, Chimney Insight earns from qualifying purchases.
These products support documentation or household warning systems. They do not make a DIY fireplace inspection equivalent to a professional inspection, and they do not confirm that a chimney is safe to use.
TESLONG Inspection Camera
Best suited to: homeowners who want to photograph an accessible, dark area before a service visit. Practical advantage: the saved product listing identifies a semi-rigid inspection camera, which can be easier to guide than a very flexible cable. Honest limitation: it cannot reveal every concealed defect or replace a professional flue scan and interpretation.
Kidde Nighthawk KN-COPP-3 Carbon Monoxide Alarm
Best suited to: households seeking a dedicated CO alarm in a location permitted by the current manufacturer instructions. Practical advantage: the model includes a digital display that can make status information easier to read. Honest limitation: placement, testing, replacement timing, and power requirements still must follow the instructions; a CO alarm does not replace maintenance or venting inspection.
SMICO100 Hardwired Smoke and CO Combination Alarm
Best suited to: a compatible hardwired, interconnected alarm system selected under local requirements and manufacturer instructions. Practical advantage: one listed device combines smoke and carbon monoxide warning functions. Honest limitation: compatibility and wiring matter; homeowners unfamiliar with electrical work should use a qualified installer rather than treating it as a simple plug-in replacement.
Prepare for the Service Visit
Bring this fireplace inspection checklist and your notes to the appointment so the technician can connect each symptom or photo to a specific location.
- Keep the appliance unused and completely cold before the appointment according to the company’s instructions.
- Clear access to the hearth, appliance, cleanout, utility area, and attic access when requested.
- Gather the appliance manual, previous reports, invoices, permits, and warranty information.
- Organize photos by location and date; include weather conditions for leaks.
- List odors, smoke behavior, alarm events, unusual sounds, and when each occurs.
- Ask what the visit includes and whether the report will contain photos and written findings.
If cleaning is recommended, use our guide on how often a chimney should be cleaned to understand why inspection findings and actual deposits matter more than an arbitrary calendar promise.
Conclusion
A useful fireplace inspection begins with a cold appliance, safe viewing positions, and a willingness to stop. Check the room, hearth, firebox, damper, visible flue, alarms, and ground-level exterior. Document what you find, avoid roof and venting work, and let a qualified professional evaluate hidden conditions or warning signs before the next fire.
Frequently Asked Questions
Can I inspect my own fireplace?
You can perform a cold, ground-level visual check and document obvious conditions. You cannot use that check to certify the flue, concealed clearances, structure, or venting system as safe. Professional inspection is still needed on the appropriate schedule and whenever warning signs or major changes occur.
How often should a fireplace and chimney be inspected?
USFA advises having heating equipment and chimneys cleaned and inspected each year by a professional. The exact service and cleaning needs depend on the appliance, fuel, use, deposits, condition, and manufacturer or local requirements.
What should I do if I find a crack in the firebox?
Photograph the crack and avoid guessing from appearance alone. Open gaps, loose panels, missing material, movement, or falling pieces need professional evaluation before use. Do not conceal the evidence with a patch before the cause and repair scope are understood.
Can an inspection camera prove my chimney is safe?
No. A camera can show the surface within its view, but safety decisions depend on complete coverage, image quality, system knowledge, accessible and concealed conditions, and trained interpretation. A consumer camera is best treated as a documentation aid.
When should I stop using the fireplace?
Stop use for smoke entering the home, a carbon monoxide alarm, suspected chimney fire, blockage, liner fragments, loose masonry, major cracks or movement, heat damage, damaged gas components, or any condition a qualified professional has not cleared.