Chimney Still Leaking After Repair? What to Check Next
By Chimney Insight Editorial Team
Posted on October 21, 2026
Chimney Structure & Diagnostics · Repair follow-up
If your chimney is still leaking after repair, contact the original contractor with dated evidence of fresh wetting and ask for a return inspection. The next step is to establish whether water is entering again, whether previously soaked materials are drying, and whether the repair addressed the complete water path. Another coat of sealant is not a substitute for that check.
A stain remaining after the work does not prove failure. New drips, an expanding damp area, or a repeatable increase in moisture after rain deserve prompt attention. This checklist helps you prepare a useful callback and agree on how the repair will be verified.
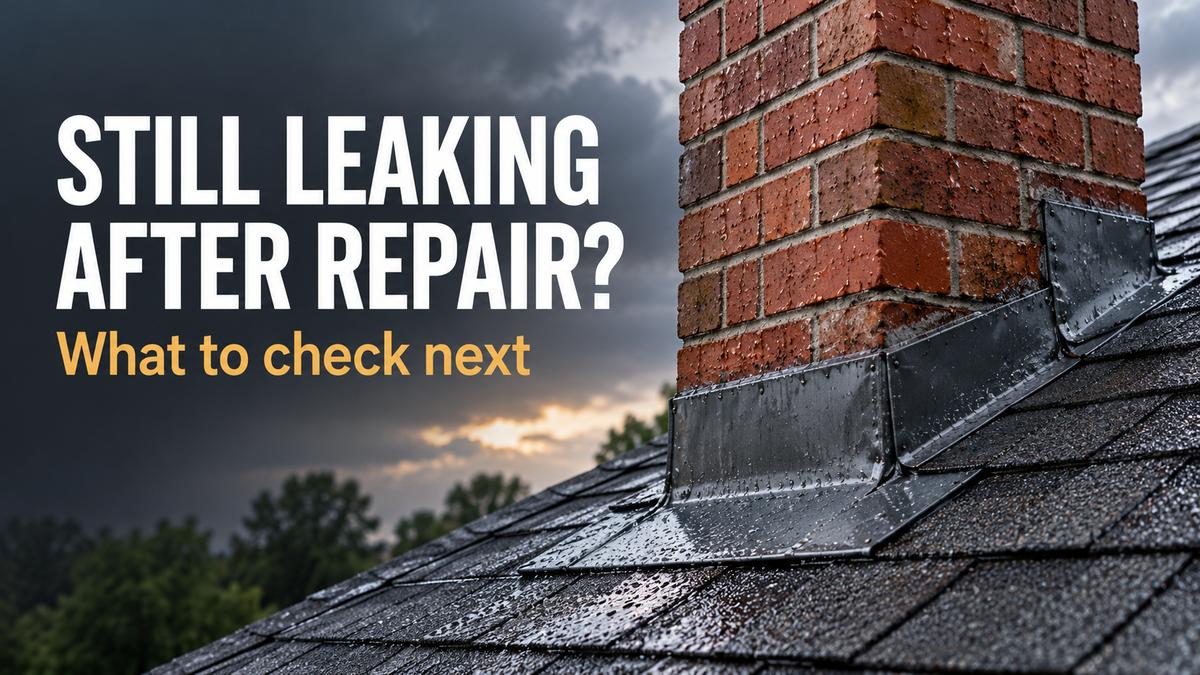
Cover: AI-generated editorial illustration, not a photograph of a customer’s repair.
As an Amazon Associate, Chimney Insight earns from qualifying purchases.
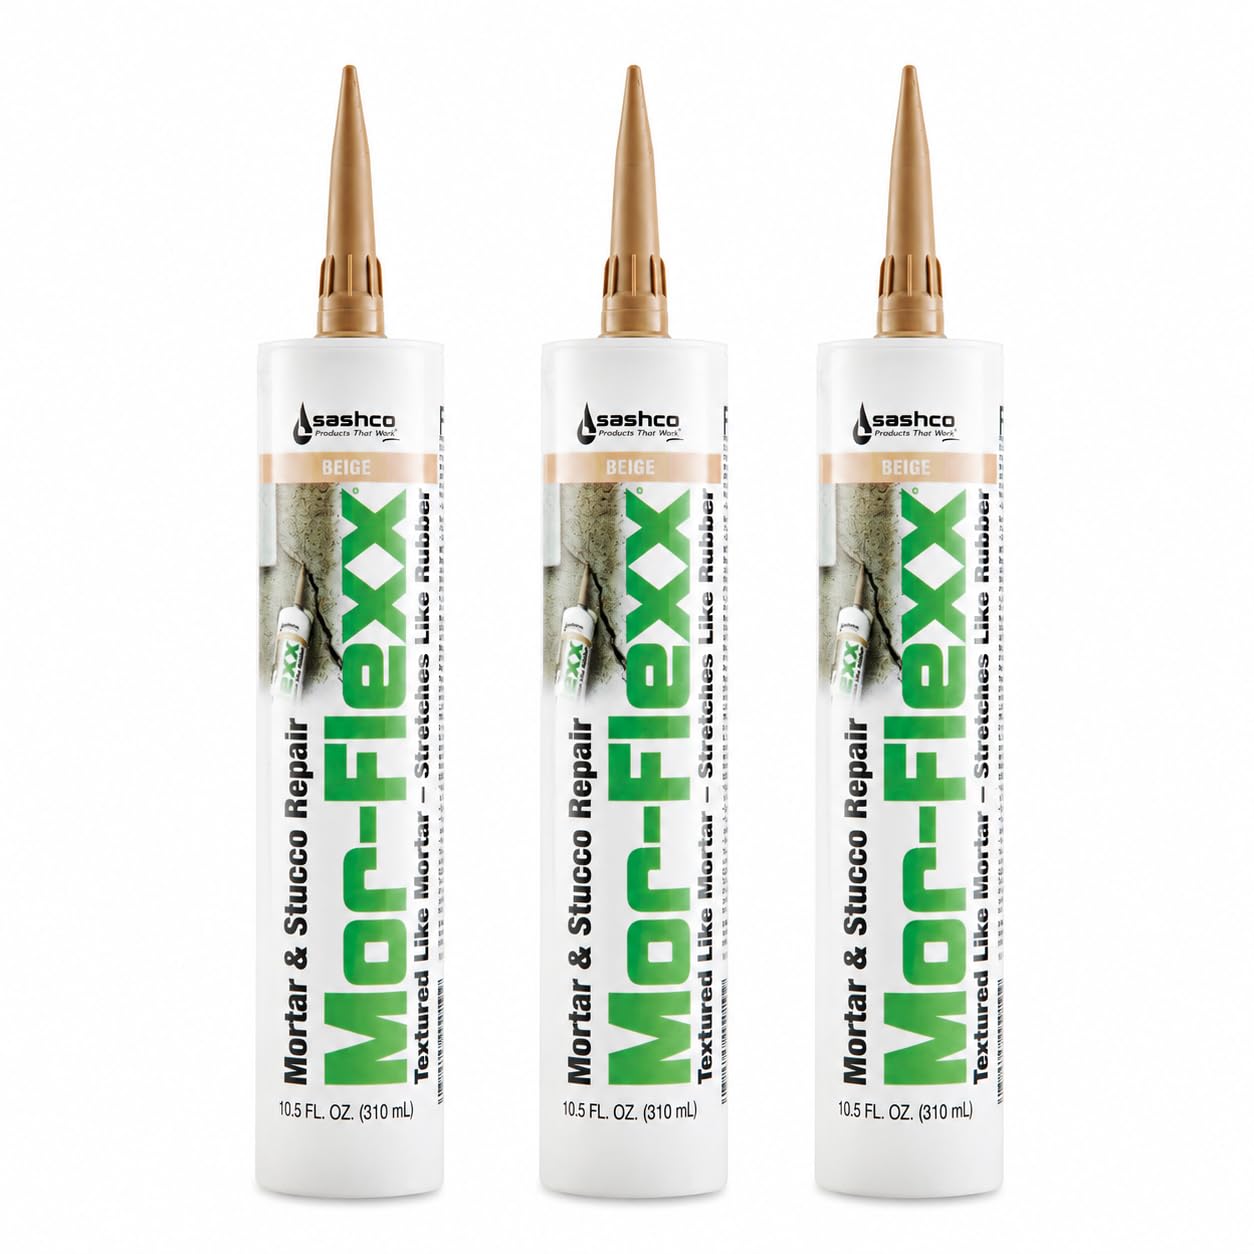
Sashco Mor-Flexx Mortar & Stucco Repair Beige
Best fit: a compatible exterior mortar or stucco repair specified by your professional. Sashco describes a flexible, textured repair material. It does not replace a correctly detailed flashing system or a structural masonry repair.
Check on Amazon1. Make the area safe before collecting evidence
Keep people away from a sagging ceiling, falling masonry, or water near electrical equipment. Arrange urgent professional help if any of those conditions are present. Do not climb onto a wet roof, walk across attic insulation, or dismantle the chimney to investigate.
If water has reached a connected appliance, its controls, the flue, or visibly damaged chimney components, stop using the affected fireplace or appliance until a qualified professional assesses it. Do not light a fire to dry the chimney or demonstrate that the repair worked.
Address indoor water damage promptly. The EPA’s moisture guidance recommends drying water-damaged areas and items within 24–48 hours to help prevent mold growth. That is an indoor cleanup priority, not a promise that saturated masonry will dry completely in two days. Significant damage or suspected hidden mold may need a restoration specialist.
2. Separate a remaining stain from fresh water entry
Start with a dated baseline. Photograph the affected area from the same position, include a ruler or another fixed reference, and record whether there are active drips. Keep the original files. A visible brown mark can remain after moisture is gone; its color alone cannot tell you when water entered.
If the contractor uses a moisture meter, ask them to document the material, measurement location, device setting, and a suitable comparison area. Readings from different materials or different meter modes are not interchangeable. There is no single percentage that proves every wall, plaster finish, or masonry surface is dry.
| What you observe | What it establishes | Useful next step |
|---|---|---|
| A dry-looking stain stays the same size | Previous damage remains visible; current dryness still needs assessment | Compare dated photos and discuss a drying baseline |
| Fresh drips begin during the next storm | Water is present again; the entry point remains unconfirmed | Send the time, location, and video to the contractor |
| Readings increase at the same marked points after rain | A repeatable change worth investigating | Have the professional check the water path and meter interpretation |
| Odor continues without obvious drips | The odor alone does not identify a leak source | Assess retained moisture, concealed damage, and other possible causes |
Ask for a specific monitoring plan rather than an indefinite instruction to wait. It should say which areas to check, what change warrants a callback, and who will assess materials that remain wet.
3. Compare the work performed with the original problem
Retrieve the estimate, inspection report, invoice, photographs, and product information. Highlight the actual work described: replacing flashing, resealing a joint, repairing a crown, installing a cap, repointing masonry, or applying a water repellent are different scopes.
Write two short descriptions: what happened before the repair and what happens now. If the same corner becomes wet in similar rain, that is useful evidence. If the leak moved, started under different weather conditions, or appears only during appliance operation, record that difference too. Avoid deciding who is at fault before the water path has been checked.
Useful questions include: Was the original source demonstrated? Which areas were inspected but left outside the scope? Were concealed layers visible? What materials were used, and did weather conditions meet their instructions? Was a completion test performed, and is its result documented?
For help comparing inspection reports and proposals, see our guide to choosing chimney repair services. Keep further work coordinated with the original contractor where practical, particularly while they are evaluating a callback.
4. Chimney leak after flashing repair: what to ask the roofer
A chimney leak after flashing repair requires checking what “flashing repair” included. New visible counterflashing does not, by itself, document the condition of the step flashing, roof covering, underlayment, corners, or uphill roof detail. Equally, continued leakage does not prove that the new metal was installed incorrectly.
Ask the roofer to explain how the repaired detail directs water back onto the roof. Request photographs showing the relevant layers where available, plus a clear statement of anything that could not be inspected without opening the assembly.
- At the sides: were the flashing and roof covering assessed together?
- At corners and terminations: were overlaps, transitions, and any required sealant joints included?
- Uphill: were adjacent roofing, debris accumulation, and any cricket or saddle considered?
- Above the roofline: were crown, cap, masonry, and other possible paths assessed or referred to a chimney specialist?
The Brick Industry Association’s water-penetration guidance emphasizes coordinated design, detailing, materials, construction, and maintenance. Its wall guidance supports an important question here: has the professional evaluated how the relevant parts work together? It is not a chimney-specific installation specification.
Our chimney flashing leak guide explains the components in more detail. For this callback, prioritize identifying what was verified and what remains uncertain.
5. Give the callback contractor a clear evidence pack
A short, organized record is easier to act on than a long collection of unlabelled images. Put the repair date, first recurrence, affected location, and available weather observations on one page. Note approximate times honestly; do not invent rainfall totals or wind measurements.
Include these six items
- The original agreed scope and invoice.
- Before-and-after photographs with dates.
- A brief video of fresh dripping, if safely observable.
- A room sketch identifying each photographed or measured location.
- Rain timing, wind observations, and whether the appliance was operating.
- A request for a return inspection and a written verification plan.
Example callback message: “Following the repair on [date], fresh water appeared at [location] during rain on [date/time]. I have attached dated photographs and a short video. Please arrange a return inspection and explain how the repaired area and other possible water paths will be checked. Please also confirm the drying and completion-verification plan.”
Keep observations separate from explanations. “Water started dripping beside the chimney at 7 p.m.” is evidence; “the new flashing must be defective” is a conclusion that still needs investigation.
6. How to verify a chimney leak repair
Agree on the evidence of success before approving additional work. A useful plan has a baseline, an appropriate exposure or assessment, and a documented follow-up. These are practical discussion points, not a universal testing standard or a guarantee against every future storm.
Confirm readiness for assessment
The professional should identify the repair materials and follow their current curing and weather-exposure instructions. Surface dryness, touch-dry time, and full readiness for water exposure can differ. Ask when testing or subsequent rain exposure is appropriate for the exact system used.
Make any testing controlled and professional
If a water test is needed, ask a qualified roofer or chimney professional to plan it, protect the interior, control roof access, and document the areas assessed. Do not hose the entire chimney yourself. Uncontrolled wetting can obscure the source, add damage, or create exposure that does not reflect the original problem.
Record the limits of the result
A dry day is not evidence that a rain-related leak has stopped. Conversely, one dry result under particular conditions does not rule out every intermittent path. Record the test method or subsequent weather, observations, inaccessible areas, and any follow-up required if the original conditions have not recurred.
Keep the indoor damage assessment separate from the exterior repair check. Before redecorating, confirm that damaged materials have been evaluated and drying is satisfactory. Paint can hide a reference mark; it cannot establish that the leak is fixed.
7. When to involve a second specialist
Seek another qualified assessment when the proposed response is repeated patching without evidence, the repair scope remains unclear, or fresh wetting continues after a documented callback. A roofer may need to work with a chimney professional or mason rather than inspect only their own component.
Ask each professional to state their findings, access limitations, recommended next step, and the evidence behind it. If chimney serviceability is uncertain, ask whether further inspection is needed. The CSIA’s masonry inspection guidance discusses additional inspection when a basic inspection cannot establish serviceability. A recurring water stain alone does not automatically prescribe a particular inspection level; the professional must assess the circumstances.
For background on the wider possibilities, use our general chimney leak guide. Ask the callback contractor which of those possibilities has actually been checked at your home.
Before buying another repair material
Sashco Mor-Flexx Mortar & Stucco Repair Beige
Consider it only if your professional specifies a suitable mortar or stucco repair and confirms substrate compatibility. Check the current instructions and color before ordering. Skip this purchase when the required work is flashing replacement, crown reconstruction, or another structural repair.
Check on AmazonProduct guidance is based on Sashco’s documentation and the supplied exact-product listing. We have not tested this material on your chimney. No product purchase is required to document a callback.
Frequently asked questions
How long should a chimney take to dry after a leak repair?
There is no universal drying period. The affected materials, depth of wetting, weather, ventilation, and concealed conditions matter. Ask for a documented drying assessment and a follow-up plan. Do not treat a fixed waiting period as proof that new water entry has stopped.
Does a stain mean the chimney repair failed?
No. A stain may remain after a leak is fixed. Fresh drips, expanding wet areas, or repeatable moisture changes after rain justify a callback, but the entry point still needs investigation.
Should I add more caulk if the repaired chimney still leaks?
Ask the contractor to inspect first. Added caulk may cover useful evidence or use an incompatible material. Any further sealing should address a confirmed defect and follow the repair system’s instructions.
Can I use the fireplace while the leak is being investigated?
If water has reached the appliance, controls, flue, or damaged chimney components, do not use the affected system until a qualified professional assesses it. Do not light a fire to dry it out or test the repair.
The next repair should come with a verification plan
When a chimney is still leaking after repair, document what is new, recover the original scope, and request a focused return inspection. Agree on what will be checked, how results will be recorded, and when drying and interior repairs can be considered complete.
A clear record helps the right professionals resolve the problem without another round of guesswork.