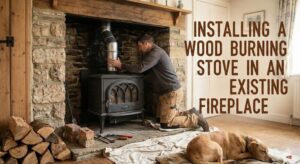
Transform Your Hearth: Installing a Wood Burning Stove in an Existing Fireplace
Upgrade Your Home’s Efficiency and Aesthetic Appeal
An open masonry fireplace is a beautiful focal point in any home, offering the crackle and ambiance of a live fire. However, in terms of heating efficiency, it is notoriously poor. Most open fireplaces send up to 80% of the heat right up the chimney, often pulling warm air from the rest of your house along with it. This is known as the “stack effect.”
Installing a wood-burning stove or an insert into an existing fireplace is one of the most effective home improvements you can make. It transforms an energy-wasting hole in the wall into a high-efficiency heating machine that can warm your entire home while using significantly less wood.
Whether you are looking to lower your heating bills, reduce your carbon footprint, or simply enjoy a safer, longer-lasting fire, this guide will walk you through the complexities of the installation process. While we always recommend consulting with a HETAS or NFI certified professional, understanding the steps involved is crucial for any homeowner.
Step 1: The Pre-Installation Assessment
Before you buy a stove, you need to know if it will fit and if your chimney can handle it. This is the “measure twice, cut once” phase of the project.
Measuring the Fireplace Opening
You need accurate measurements of your existing firebox. Measure the:
- Height: From the hearth to the lintel (the support bar at the top).
- Width: At the front and the back (fireplaces often taper).
- Depth: From the opening to the back wall.
Ensure you leave clearance around the stove for air circulation. Most manufacturers specify the required air gap (usually 4-6 inches).
Inspecting the Flue
You cannot simply vent a wood stove into a large masonry chimney. The smoke will cool too quickly, causing massive creosote buildup and poor draft. You will almost certainly need a stainless steel flexible liner. Check the chimney for blockages, cracks, or structural damage before proceeding.

Don’t guess what’s going on inside your flue. This dual-lens camera allows you to inspect your chimney for cracks, blockages, or nesting animals before you start your installation.
Check Price on AmazonStep 2: Preparing the Chimney & Liner
The liner is the lung of your new stove. A flexible stainless steel liner runs from the top of your chimney down to the stove, ensuring a safe, sealed exit for smoke.
Cleaning the Chimney
Never install a liner in a dirty chimney. Old creosote can ignite outside the liner, causing a dangerous chimney fire that you might not detect immediately.
Installing the Liner
This is often a two-person job. One person on the roof feeds the liner down, while another person in the fireplace guides it through the damper area (which may need to be removed or cut out). The liner must be insulated if your chimney is on an exterior wall to keep the flue gases hot and prevent draft issues.
Step 3: Preparing the Hearth & Register Plate
While the liner protects the chimney, the register plate (or block-off plate) seals the chimney. This is a critical step for efficiency.
The Block-Off Plate
Without a block-off plate, the heat your stove generates will simply rise up the chimney around the outside of the liner. A metal plate is cut to fit the throat of the chimney, sealing the area around the liner. This traps the heat in the room.
Hearth Requirements
Your existing hearth must be non-combustible and extend far enough in front of the stove (usually 16-18 inches) to catch any stray embers. If your hearth is cracked or too small, you must extend it or install a hearth pad.
Step 4: Installing the Stove
Now comes the heavy lifting. Wood stoves are incredibly heavy (often 300+ lbs). Use a dolly or stair climber to move it into position.
Positioning
Slide the stove into the fireplace cavity, ensuring you maintain the manufacturer’s specified clearances to combustible materials (mantels, wood trim, etc.).
Connecting the Flue
Connect the stove collar to the flexible liner using an adapter. This connection must be sealed with fire cement or high-temperature silicone to prevent smoke leakage. Secure the connection with stainless steel screws.
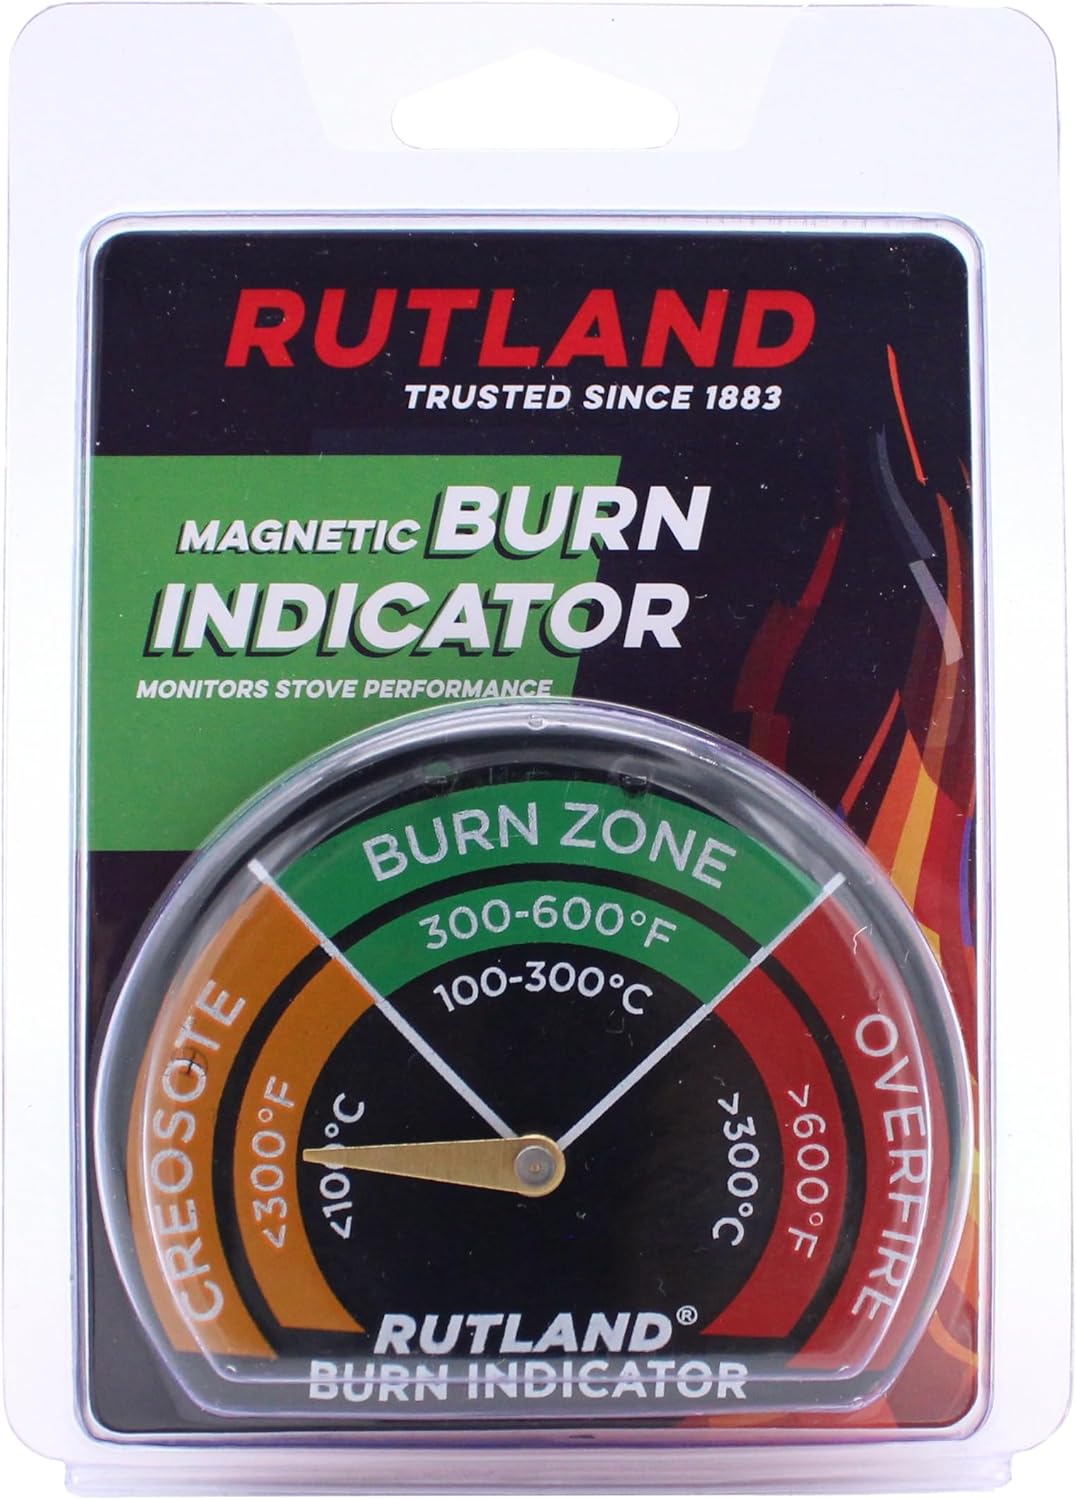
Monitoring your burn temperature is vital for safety and efficiency. This magnetic thermometer attaches directly to your stove pipe or stovetop to ensure you aren’t over-firing or burning too cool.
Check Price on AmazonStep 5: Finishing Touches & Inspection
Once the stove is connected, you need to finish the top of the chimney. Install a chimney cap with a mesh screen to prevent rain from entering the liner and to keep animals out.
The Chimney Pot/Cowl
The liner should be supported at the top of the chimney stack by a pot hanger or a clamp plate. Ensure it is watertight to prevent moisture from damaging your masonry.
Carbon Monoxide Detectors
Code requirements strictly mandate the installation of Carbon Monoxide (CO) detectors in any room with a solid fuel-burning appliance. This is a non-negotiable safety feature.

Protect your family from the silent killer. This digital display CO detector is reliable, easy to read, and essential for any home with a wood stove.
Check Price on AmazonStep 6: First Fire & Maintenance
Before you load it up with logs, read the manual regarding the “curing” process. The paint on new stoves needs to be heat-cured. This usually involves building small fires that are gradually increased in intensity. You may smell chemical odors during this process—open windows to ventilate.
Choosing the Right Fuel
Your new stove is a precision instrument. Do not feed it wet wood. Only burn seasoned hardwood with a moisture content below 20%. Wet wood will clog your expensive new liner with creosote in weeks.